Adding a New User
The process of adding a new user in ISPCRM is designed to be straightforward and efficient. Follow these steps to ensure you collect all the necessary information to create a user account successfully.
Step 1: Personal Information
Start by entering the personal details of the new user.
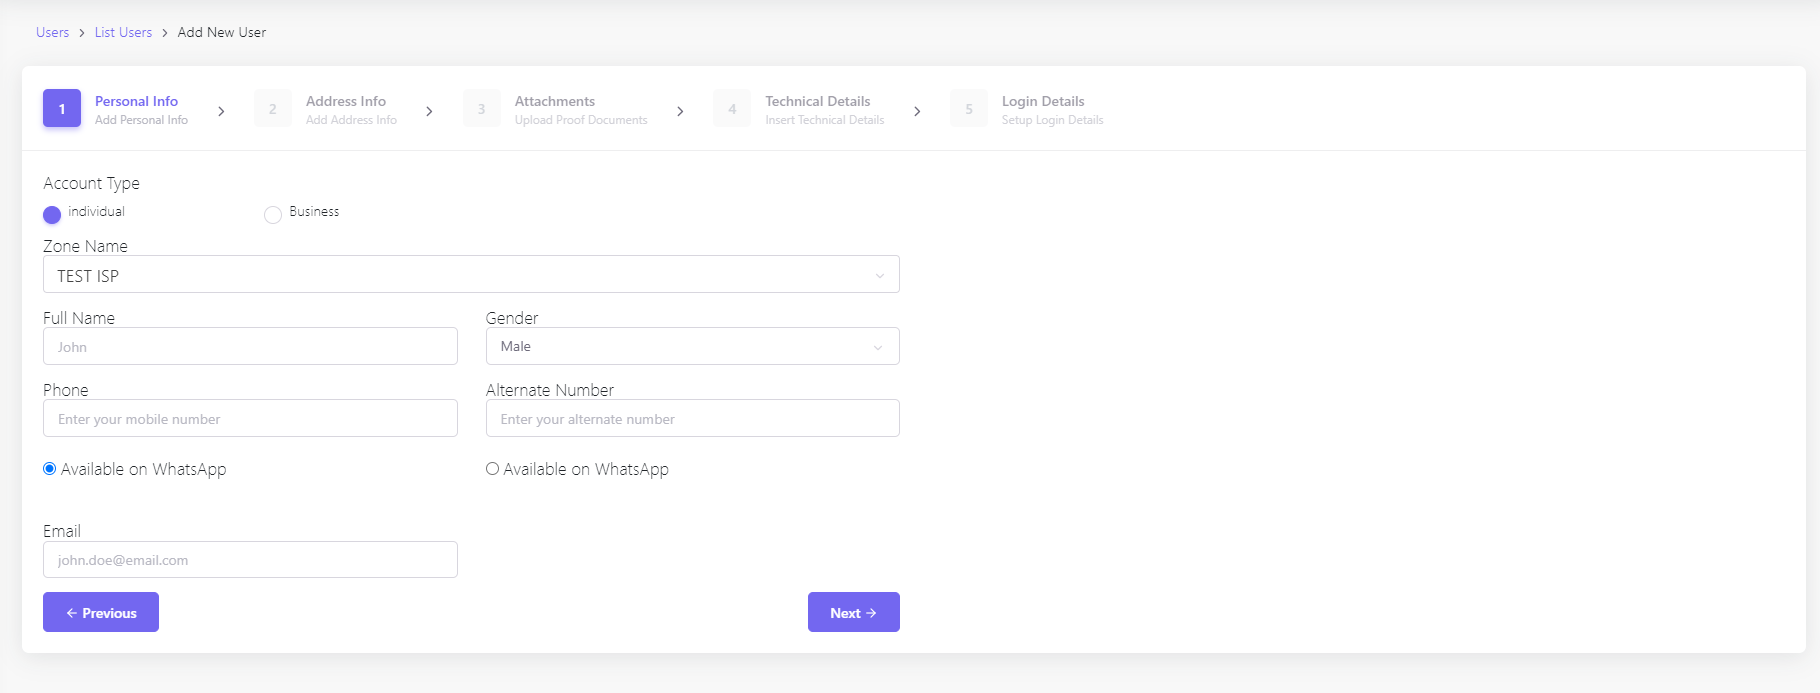
- Account Type: Select between ‘Individual’ or ‘Business’ to specify the nature of the account.
- Zone Name: Choose the zone that the user belongs to, such as ‘TEST ISP’.
- Full Name: Enter the user’s full name, e.g., ‘John’.
- Gender: Choose the gender of the user from the dropdown options.
- Phone: Input the user’s mobile number. If available on WhatsApp, tick the corresponding checkbox.
- Alternate Number: Provide an additional contact number, if applicable.
- Email: Enter the user’s email address for communication and account recovery purposes.
After filling in the personal information, click the ‘Next’ button to proceed.
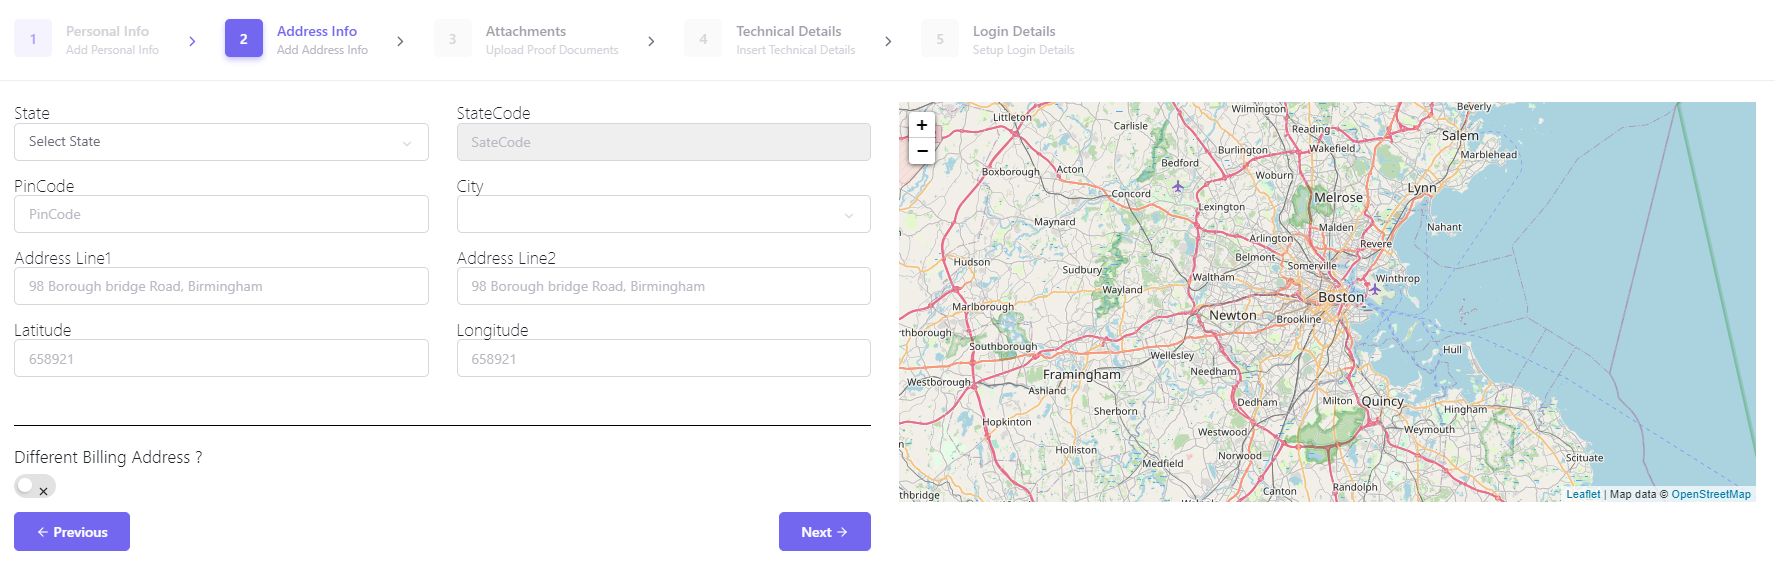
Step 2: Address Information
Enter the user’s geographical details and ensure accuracy for service provisioning and billing.
- State: Select the user’s state from the dropdown menu.
- StateCode: Input the state code if applicable.
- PinCode: Enter the postal code for the user’s location.
- City: Choose the city from the dropdown or enter it manually.
- Address Line1 & Line2: Provide the street address for the user’s location.
- Latitude & Longitude: These fields may auto-populate based on the address or can be filled in manually for precise geolocation.
- Different Billing Address?: Select this option if the user has a separate billing address from their service location.
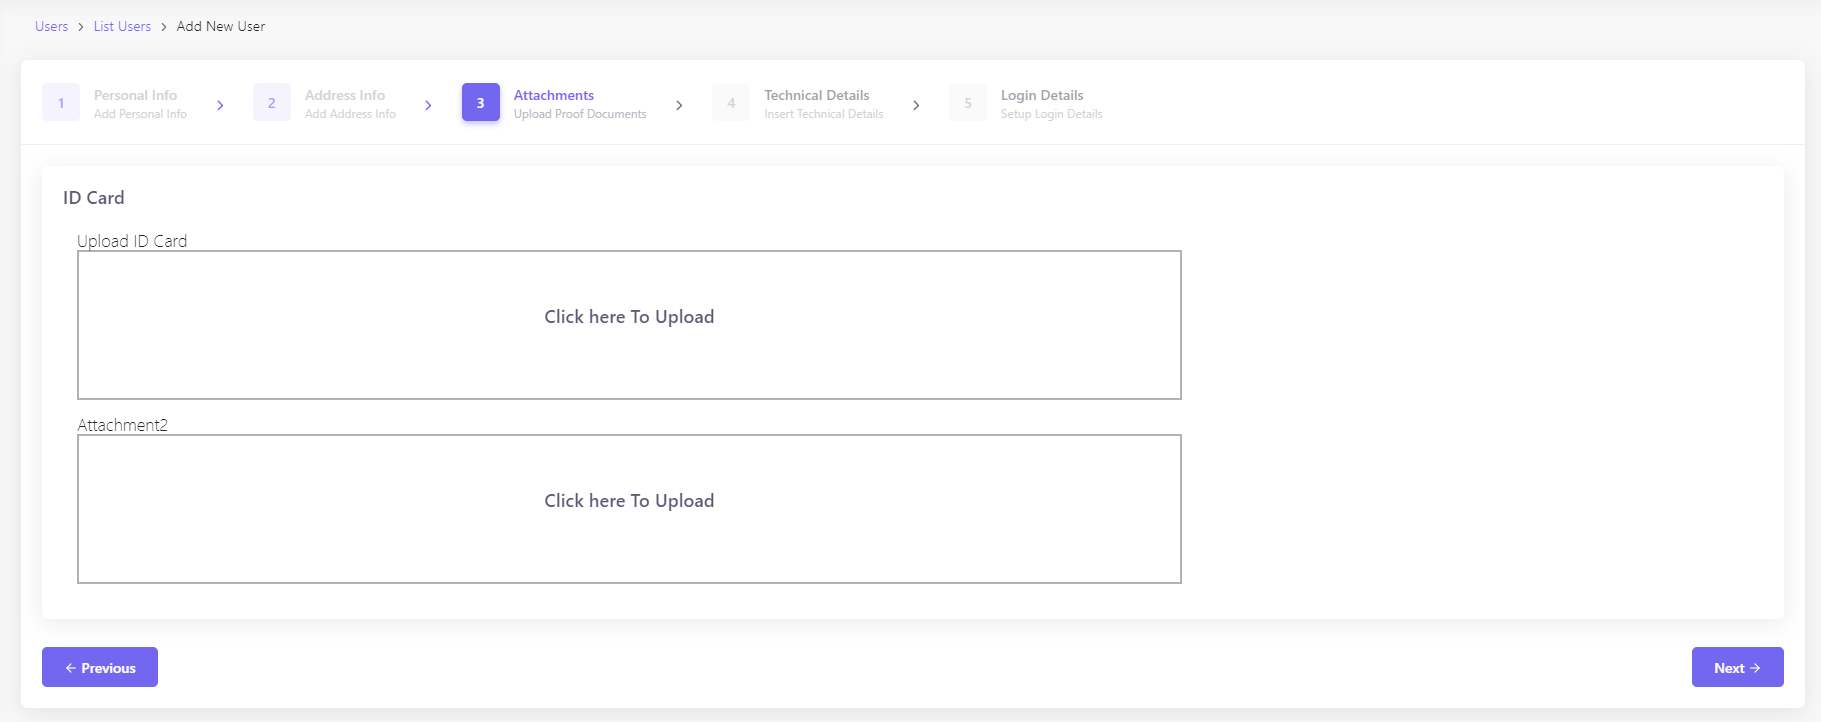
Step 3: Document Upload
Upload necessary documents for user verification or any other relevant documentation.
- ID Card: Use the provided field to upload a government-issued ID card or any identity verification document.
- Additional Attachments: If more documents are needed, use the additional upload fields provided.
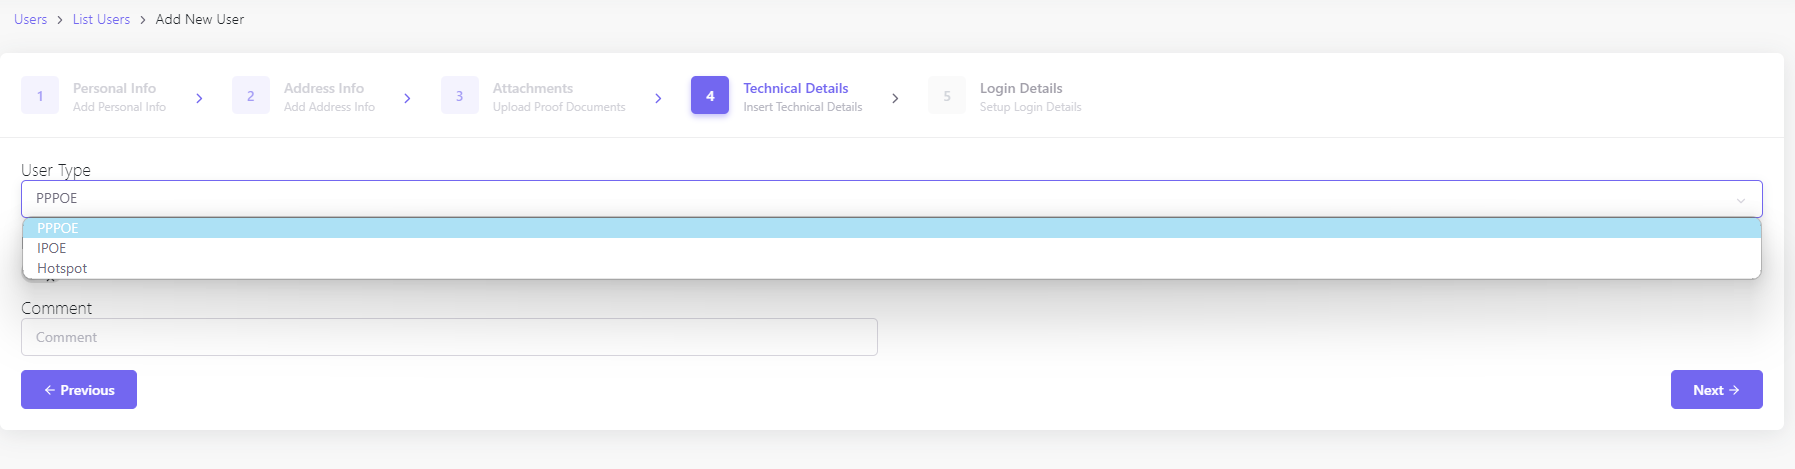
Step 4: Technical Details
Insert technical details that pertain to the user’s service and equipment.
- User Type: Select the appropriate user type, such as PPPoE, IPoE, or Hotspot.
- Comment: Add any relevant notes or comments regarding the user’s technical setup.
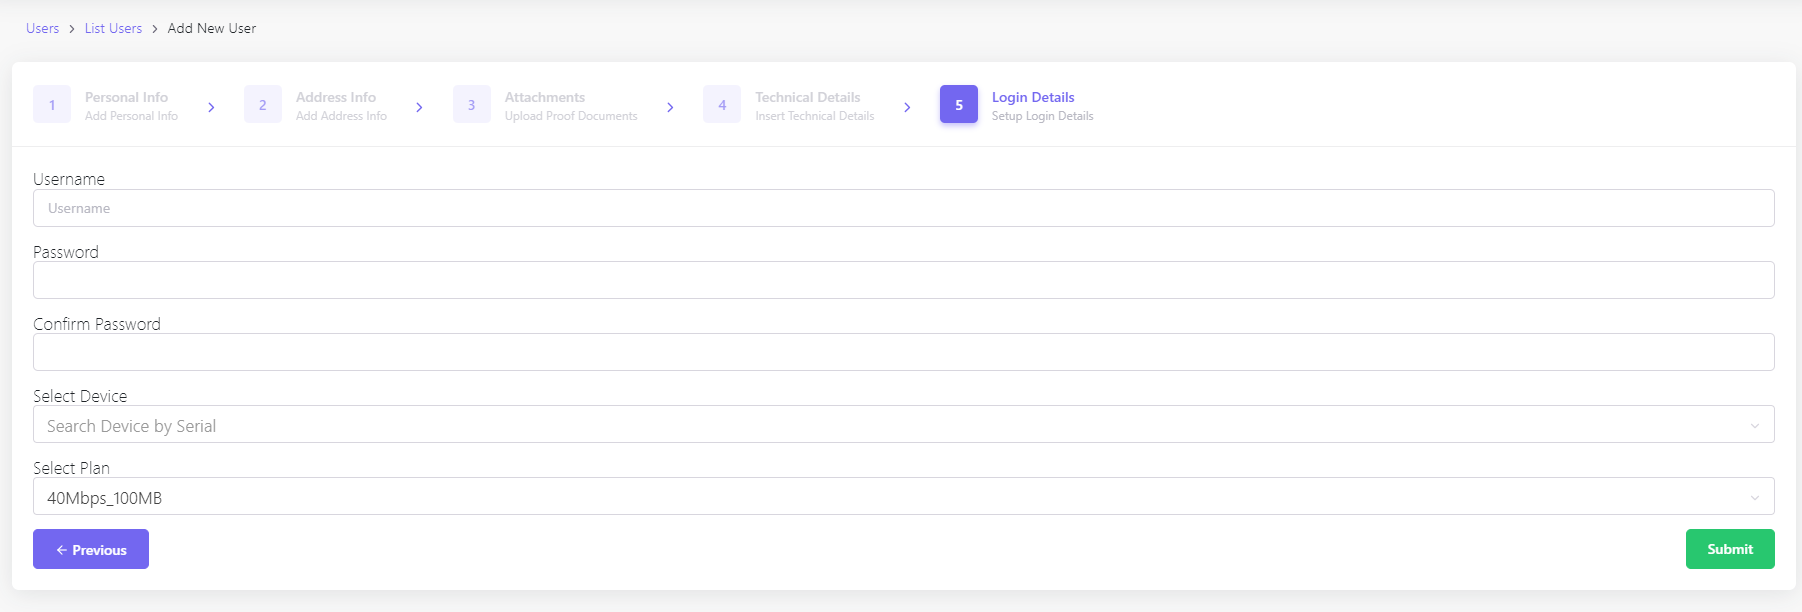
Step 5: Login Details
Finalize the user’s account creation by setting up their login credentials.
- Username: Choose a unique username for the user’s account.
- Password & Confirm Password: Enter and confirm a strong password for the account.
- Select Device: If device binding is required, select the appropriate device by its serial number.
- Select Plan: Assign a service plan from the options available, such as ‘40Mbps_100MB’.
Once all steps are completed, review the information for accuracy and click ‘Submit’ to finalize the addition of the new user.